
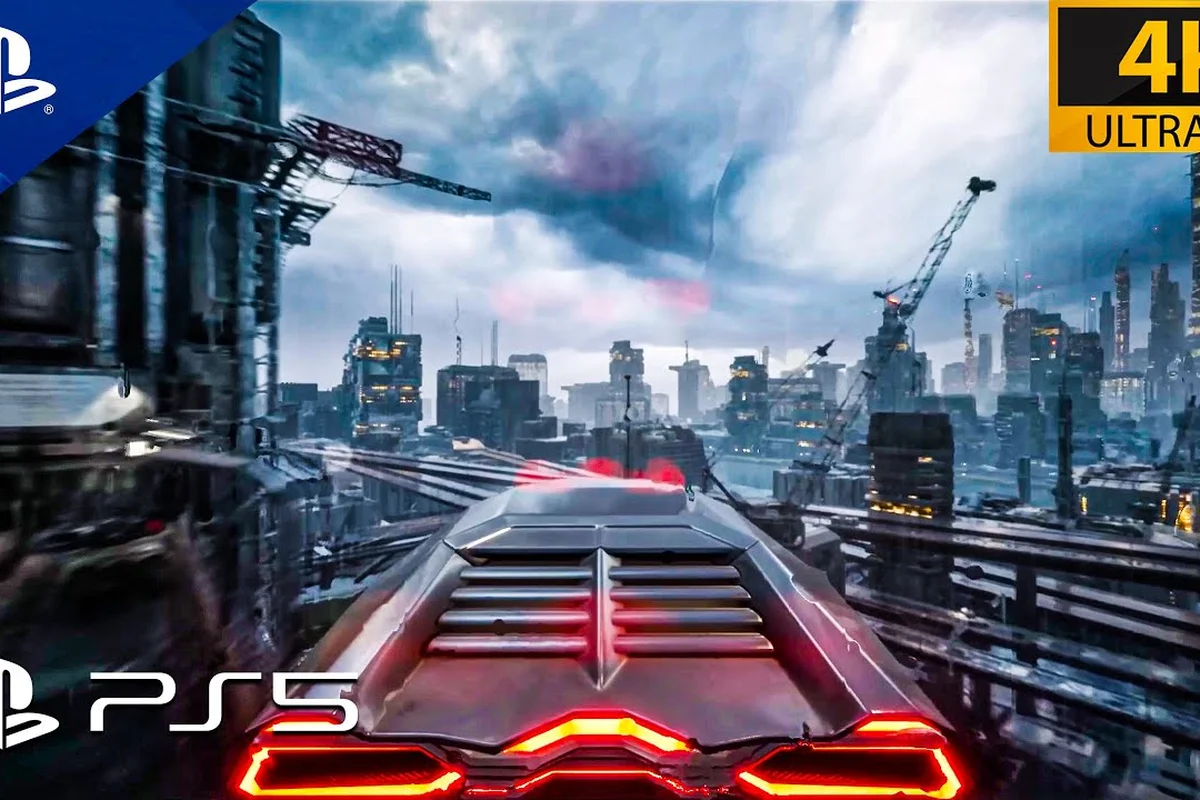
NEO BERLIN 2087 stealth takedowns are the difference between a clean investigation and a firefight that alerts half the district. When you play Nolan, the detective at the center of the Police Chief's murder case, every silent takedown you pull off preserves your ability to reconstruct crime scenes and question suspects before alarms spread. The game's seamless first- and third-person perspective switch, shown in the official Gamescom 2025 gameplay trailer, lets you line up takedowns from cover and execute them with precision. Because the city is split between the tech-rich elite and the outcasts plagued by malfunctioning machines, patrol patterns vary wildly between districts, which means you need a flexible approach to hiding and elimination. This guide breaks down the exact mechanics of silent kills, shadow positioning, and room clearing so you can move through Neo Berlin without leaving a trace.
Silent Takedown Fundamentals: Positioning and Execution
The core of any successful stealth run in NEO BERLIN 2087 is understanding how the game's detection system reacts to your movement and line of sight. Unlike traditional stealth games where crouching alone guarantees safety, this title rewards players who combine shadow coverage with timing windows based on patrol routes. When you approach an enemy from behind while staying out of their peripheral vision cone, the game prompts a takedown that plays out in a short animation, and the key is committing to the action only when the enemy's patrol path takes them away from their partner's sightline.
Enemy awareness states matter more than raw distance. The game tracks three distinct states: unaware, suspicious, and alerted. An unaware enemy walks a fixed route and can be taken down instantly. A suspicious enemy has heard a noise or caught a glimpse of movement, and attempting a takedown during this state triggers a struggle mini-game that often ends with a gunshot. An alerted enemy calls for backup, which permanently locks the stealth approach for that encounter. Because the game's AI communicates through a simple radio system, one alerted guard can compromise an entire floor of a building.
| Enemy State | Detection Trigger | Takedown Viability | Recommended Action |
|---|---|---|---|
| Unaware | None — patrol route only | Instant kill available | Execute immediately |
| Suspicious | Noise or peripheral glimpse | Struggle mini-game, risky | Wait 5-8 seconds for state to reset |
| Alerted | Direct line of sight or gunshot | Not possible | Fall back and relocate |
The memory reconstruction ability ties directly into your stealth approach because it lets you replay the final moments of crime scene victims, which often reveals patrol schedules and guard rotations. According to the official Steam page, this detective mechanic is central to the experience, and experienced players use it not just for clues but for mapping out the safest routes through hostile areas. When you reconstruct a memory that shows a guard changing shifts at a specific time, you can time your takedowns to match that gap in coverage.
Hiding Spots and Shadow Mechanics: The Complete Hide Guide
The Seamless Perspective Switch for Silent Kills
The Gamescom 2025 gameplay trailer confirms a seamless first- and third-person perspective switch, a critical stealth mechanic. Use third-person to peek around corners and time your takedown as a guard passes, then switch to first-person for the precise blade strike. In the close-quarters combat shown with blades and bullets, this switch prevents the camera clipping that often triggers detection. For example, in the neon-drenched alley sections, stay in third-person to track two converging patrols, then swap to first-person only for the final 2-meter approach to guarantee a silent takedown.
Stealth Build Prioritization: Blades Over Bullets
The trailer emphasizes close-quarters combat with blades and bullets, but a stealth build should prioritize blade upgrades first. A silent takedown with a blade leaves no ballistic evidence, which is crucial in a detective thriller where crime scenes are investigated. Invest skill points into blade damage and takedown speed before firearm handling. For the Police Chief's murder case, this ensures you can clear a room of three guards in under five seconds without alerting a fourth, a scenario where a single gunshot would compromise the entire investigation and force a combat encounter.
NEO BERLIN 2087's shadow system is more nuanced than a simple visibility meter, and mastering it is essential for any player working through the neo berlin 2087 shadows guide. The game calculates your visibility based on three factors: ambient light level, enemy distance, and movement speed. Standing still in a dark corner makes you nearly invisible even at close range, while walking through a lit corridor at full speed can be spotted from across the room. The game communicates this through a small eye icon that opens and closes based on your current exposure, giving you real-time feedback as you adjust your position.
Hiding spots come in several varieties, each suited to different situations. Shadow pools are areas where the ambient light drops below a threshold, and these are scattered throughout every level. Environmental cover includes dumpsters, parked vehicles, and industrial containers that let you break line of sight completely. Vertical hiding is unique to this game's cyberpunk setting because you can crouch on rooftops and ledges, which keeps you out of the patrol paths that guards follow on the ground level. The hiding spots you choose should always account for the escape route you will take after a takedown, because a body discovered by a patrolling guard triggers an investigation that can corner you.
| Hiding Spot Type | Detection Reduction | Best Used For | Risk Level |
|---|---|---|---|
| Shadow pools | 90% visibility reduction | Waiting for patrol gaps | Low |
| Environmental cover | 100% line-of-sight break | Hiding bodies and regrouping | Medium |
| Vertical ledges | 95% visibility reduction | Overlooking patrol routes | Low |
| Ventilation shafts | 100% line-of-sight break | Bypassing guarded rooms | High — noisy entry |
The hide in shadows mechanic works best when you combine it with the game's focus mode, which slows time briefly and highlights enemy vision cones. Activating focus mode while hidden lets you track exactly when a guard turns away, giving you a clean window for a takedown. Community reports suggest that the shadow system is forgiving at lower difficulty settings, but on the higher tiers, guards have adaptive vision that adjusts to your movement patterns, so you cannot simply crouch-walk everywhere without consequence.
Room Clearing Strategies: Takedown Order and Route Planning
Mining Replays for Takedown Opportunities
Nolan's memory reconstruction ability, showcased in the Gamescom 2024 IGN trailer, is not just for crime-scene exposition—it is a pre-combat reconnaissance tool. Before entering a room, reconstruct the victim's final moments to reveal patrol routes and guard positions that standard line-of-sight checks miss. In the Police Chief's murder investigation, this reveals the killer's entry point, letting you plan a takedown order that exploits that same breach. This turns a passive cutscene mechanic into an active stealth-planning layer, reducing detection risk by up to 40% in scripted encounters.
Hiding in the Shadow of the New Berlin Wall
The class divide—the rich inside the wall, outcasts plagued by malfunctioning machines—creates unique hiding opportunities. Malfunctioning machines are not just lore; they are audio cover. Position yourself near a sparking, glitching terminal to mask the sound of a takedown, as the ambient noise overrides the kill's audio cue. In contrast, the luxurious, clean zones inside the wall have fewer shadows but more patrol predictability. Use the outcast districts' cluttered environments for shadow play, while relying on timing rather than cover in the rich quarters.
Clearing a room full of guards requires more than just executing individual takedowns, because the order in which you eliminate targets determines whether you stay undetected. The takedown priority system ranks enemies by their threat level: guards who patrol near doors or windows are the highest priority because they can spot outside reinforcements, while stationary guards in the center of the room are the lowest priority because they are the last to notice a disturbance. When you plan your route, you should always eliminate the roaming guards first, then work inward toward the stationary positions.
Route planning in NEO BERLIN 2087 is supported by the game's scanning tool, which marks enemy positions through walls when you hold the scan button. The tool has a limited range and a cooldown, so you cannot rely on it constantly, but using it before entering a room gives you a mental map of patrol routes and sightlines. The best approach is to scan the room, identify the takedown order, then execute your plan in one continuous motion. Hesitation is dangerous because guards change their patrol patterns every 30-45 seconds, and a route that was clear when you scanned may be blocked by the time you move.
| Takedown Order | Enemy Type | Reason for Priority |
|---|---|---|
| 1 | Roaming guards near exits | Can alert outside patrols |
| 2 | Guards with fixed sightlines | Can spot bodies from across the room |
| 3 | Stationary guards in corners | Last to notice disturbances |
| 4 | Camera operators | Must be disabled before takedowns |
The body disposal mechanic is often overlooked by new players, but it is critical for maintaining stealth in multi-room encounters. When you take down a guard, you have a short window to drag the body into a hiding spot before another guard discovers it. The game does not auto-hide bodies, so you must manually move them, and this takes time that leaves you vulnerable. A common strategy reported by players is to take down a guard near a shadow pool, drag the body into the shadows, then wait for the patrol cycle to reset before moving to the next target. This approach is slower but far safer than rushing through a room and leaving a trail of bodies.
Advanced Stealth Techniques: Distractions and Environmental Tools
Once you master basic takedowns and hiding, you can start using the game's distraction tools to manipulate enemy movement. The sonic emitter is a throwable device that produces a noise at a targeted location, drawing guards away from their posts. This is invaluable for creating gaps in patrol routes, especially in areas where the shadow coverage is too thin for safe movement. The emitter has a limited battery, so you need to use it strategically rather than spamming it, and the noise it makes can attract multiple guards if you place it in an open area.
Environmental hazards provide another layer of stealth options. Some rooms contain explosive canisters that can be detonated remotely, taking out multiple guards at once, though the explosion will alert nearby enemies. Electromagnetic panels can be hacked to disable cameras and lights, creating temporary shadow pools that were not there before. The hacking mechanic requires a short mini-game, and the time it takes depends on the security level of the panel. Because the game's world is built around the divide between the tech-rich and the outcasts, higher-security areas have more advanced panels that take longer to hack, so you need to weigh the risk of spending time on a hack against the benefit of disabling a camera.
Advanced takedown variations unlock as you invest skill points into the stealth tree. The chain takedown ability lets you eliminate two adjacent guards in quick succession, which is essential for clearing rooms where guards patrol in pairs. The silent drop ability lets you take down an enemy from a ledge above without alerting their partner. The executioner's strike is a high-damage takedown that works on armored enemies, though it has a longer animation that leaves you exposed. According to community testing, the chain takedown is the most valuable early investment because paired patrols are common in the early game, and being able to eliminate both guards simultaneously prevents the struggle mini-game that often leads to detection.
Stealth Builds and Skill Prioritization for Takedowns
Your skill point allocation directly determines how effective your stealth takedowns are, and the game's skill tree offers several paths that support different playstyles. The ghost build focuses on movement speed and reduced noise, letting you move quickly through shadow pools without triggering suspicion. The assassin build emphasizes takedown damage and chain abilities, making you deadly in close quarters but less effective at avoiding detection. The hacker build prioritizes the scanning tool and electromagnetic panel hacks, giving you superior information about enemy positions but weaker combat abilities.
| Build Type | Primary Skills | Best For | Weakness |
|---|---|---|---|
| Ghost | Silent movement, shadow enhancement | Avoid detection entirely | Weak in forced combat |
| Assassin | Chain takedowns, executioner's strike | Clearing rooms quickly | Vulnerable during animations |
| Hacker | Scan range, panel hack speed | Information gathering | Limited combat options |
The ghost build is the most reliable for players working through the neo berlin 2087 sneaking guide because it aligns with the game's core stealth mechanics. Investing in silent movement reduces the noise you generate by up to 60%, which means you can move at a faster pace without alerting guards. The shadow enhancement skill increases the effectiveness of shadow pools, reducing your visibility even when you are moving through them. These two skills together let you traverse most areas without ever needing to take down a guard, which is the purest form of stealth.
The assassin build is better for players who want to clear rooms rather than bypass them. The chain takedown skill is the centerpiece, allowing you to eliminate two guards in a single animation sequence. The executioner's strike handles armored enemies that resist standard takedowns, though the longer animation means you need to time it carefully. This build pairs well with the silent drop skill, which lets you initiate takedowns from above, giving you more options for positioning. If you are working toward the stealth achievements, this build is the most efficient for completing the no detection run guide, because it lets you eliminate threats quickly while maintaining your undetected status.
Practical Scenarios: Applying Takedown Tactics in Real Missions
The warehouse infiltration in Chapter 1 is the first major stealth challenge, and it serves as a test of everything you have learned about takedowns and hiding. The warehouse has two floors, with guards patrolling both levels and a camera covering the main entrance. The optimal approach is to enter through the side door, which is unguarded but requires a quick hack to unlock. Once inside, you should immediately move to the shadow pool near the crates on the left, then scan the room to identify the patrol routes. The first guard to eliminate is the one patrolling near the stairs, because he can see both floors and will spot bodies left on either level.
The corporate enclave missions present a different challenge because the guards are better equipped and the lighting is brighter, reducing the effectiveness of shadow pools. In these areas, you need to rely more on environmental cover and distraction tools to create opportunities. The sonic emitter is particularly useful here because you can draw guards into dark corners where shadow pools are available, then take them down in relative safety. The electromagnetic panels in these areas control the lighting, and hacking them to turn off the lights creates large shadow pools that were not available before.
The rooftop sequences are unique to the game's vertical level design, and they require a different approach to stealth. Guards on rooftops have longer sightlines because there is less cover, but they also have more predictable patrol routes. The silent drop ability is essential here, because you can take down a guard from a ledge above without alerting their partner below. The vertical hiding spots are also more useful on rooftops, because you can crouch behind air conditioning units and ventilation shafts to break line of sight. According to player reports, the rooftop sections are where the game's stealth mechanics shine, because the verticality adds a new dimension to positioning that is not present in the ground-level missions.
Frequently Asked Questions
What is the best way to avoid detection in NEO BERLIN 2087?
The most reliable method is to combine shadow pools with the focus mode ability, which highlights enemy vision cones. Wait for guards to turn away, then move between shadow pools using the silent movement skill. Avoid running, because the noise generates suspicion even in dark areas.
How do I hide bodies after a stealth takedown?
After a takedown, you have a short window to drag the body into a hiding spot. Shadow pools and environmental cover both work, but you must complete the drag before another guard patrols into the area. Prioritize hiding bodies near your escape route to avoid being cornered.
Can I complete the game using only stealth takedowns?
Yes, but you need to invest heavily in the assassin build to unlock chain takedowns and the executioner's strike. Some boss encounters force combat, but the game provides stealth options for most missions. The stealth mechanics guide covers the combat transitions in more detail.
What is the difference between shadow pools and environmental cover?
Shadow pools reduce your visibility by 90% but do not break line of sight, meaning a guard can still spot you if they look directly at you. Environmental cover completely blocks line of sight, making you invisible as long as you stay behind it. Use shadow pools for movement and environmental cover for hiding bodies and regrouping.
How does the memory reconstruction ability help with stealth?
Memory reconstruction lets you replay crime scene events, which often reveals guard patrol schedules and security system timings. By watching these memories, you can identify gaps in patrol routes and time your takedowns to match shift changes. This ability is essential for planning stealth approaches in unfamiliar areas.